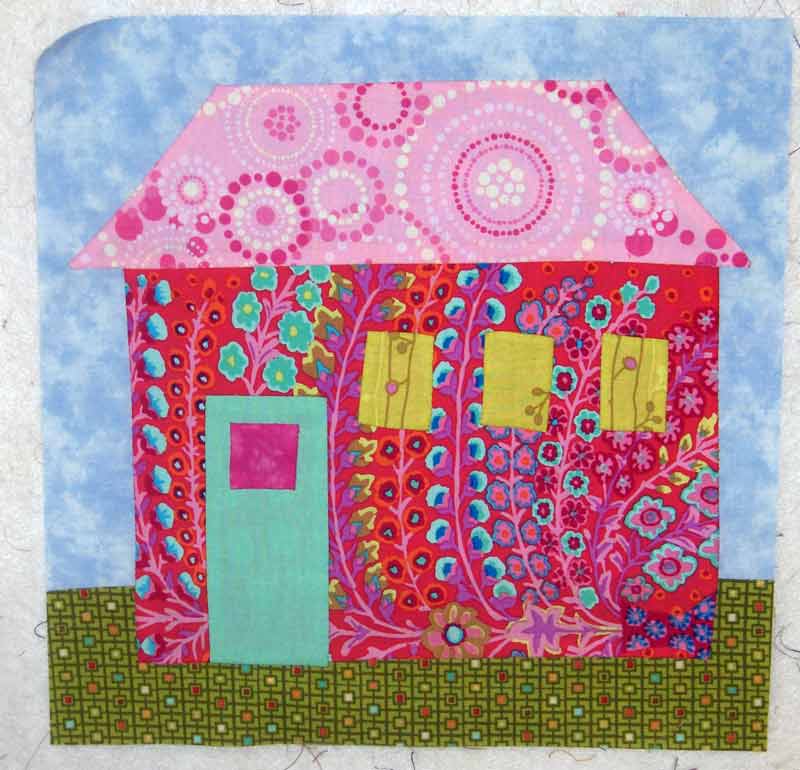
Two more houses completed on my wonky houses!! The center top is called Double Martini and the upper right is called Two a Tee.

I'm making a few little gifts and I love these birds. The purple one will have to wait for legs until I can find a few more long beads. I think they are really cute, but are they kind of dorky too? Would you like it if a friend gave you one? Sometimes I'm so unsure of myself. They are little scissor fobs and the pattern is by
Sue Spargo.

I got a discount half my age at the
Stitchin' Post and have had my eye on this wonderful book by
Renee Plains for a few weeks now.

It has a few quilts in it, but I rarely use patterns for the quilts I make. I loved all the little "sewing needfuls" craft projects she added to this book.

I finally found some of this cotton stuffing on my last road trip! I only had to use a little to stuff the birds but I know I like it better than poly already.
I purposely don't write about a lot of family stuff but I have to today. I hope you don't mind.
We bought our daughter a car when she was 16. It was a used 1991 Toyota. She is 26 now and she has still been driving her Toyota, regardless of it not having much power, being hit by a large firetruck, and having 240,000 miles on it.
It just happened to work out for her to buy my old car. She came down this past weekend and picked up her "new" car. She was so excited!!
<>
"Mom, let's have dad take a picture of us with our new cars". I love this photo!!
My baby is graduating from college on Saturday. I found out today his 4 year gpa average is 3.66 and this last semester was 4.00!! He has loved school so much and we've seen him grow in so many ways.

In high school he went with a friend to Block Island, RI and worked for the summer. Then after graduation he did an exchange with
AFS to Denmark for a year. He is always up for an adventure. (nice shoes he has on, eh? )
So, I am off to Portland in the morning to start the celebrations. Have a wonderful weekend!!