Showing posts with label Revolutionary Flags quilt. Show all posts

Friday, May 27, 2016

Fanciful Friday


The two wanderers (Not all those who wander are lost!) came knocking at our door about 10PM on Tuesday night! My son, Ken and his girlfriend, Nikki have been traveling the western part of the United States and Alberta, Canada since we left them in Las Vegas almost  3 weeks ago. Their arrival was a fun unexpected surprise! I haven't been sewing and had no blog post on Wednesday. So, here I am getting caught up with a little of everything today. 


These cute little dresses arrived from Teresa for my trip to Peru later this year.  Thank you Teresa!
My fabric order arrived from Two Thimbles Quilt shop. Yep, just as lovely as I imagined they would be!
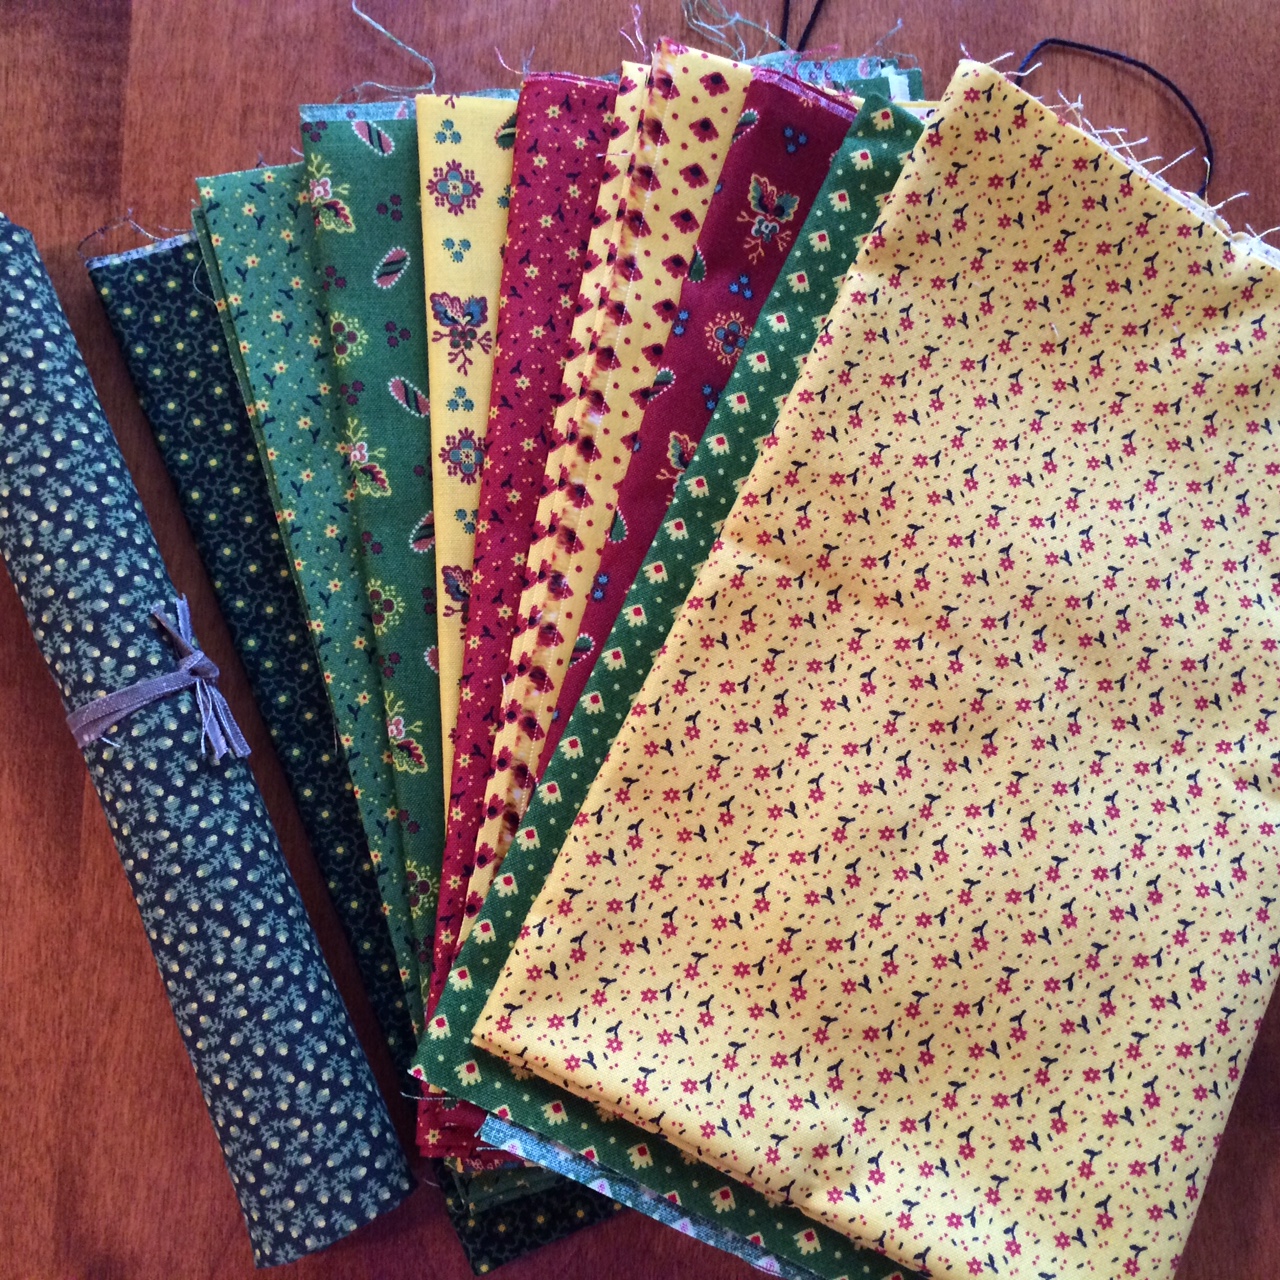
Couldn't help myself on this 1800's bundle. 
About the only sewing I've done is to add this patch to my son's  pants and darned it to keep it together as long as possible. Is that called darning?
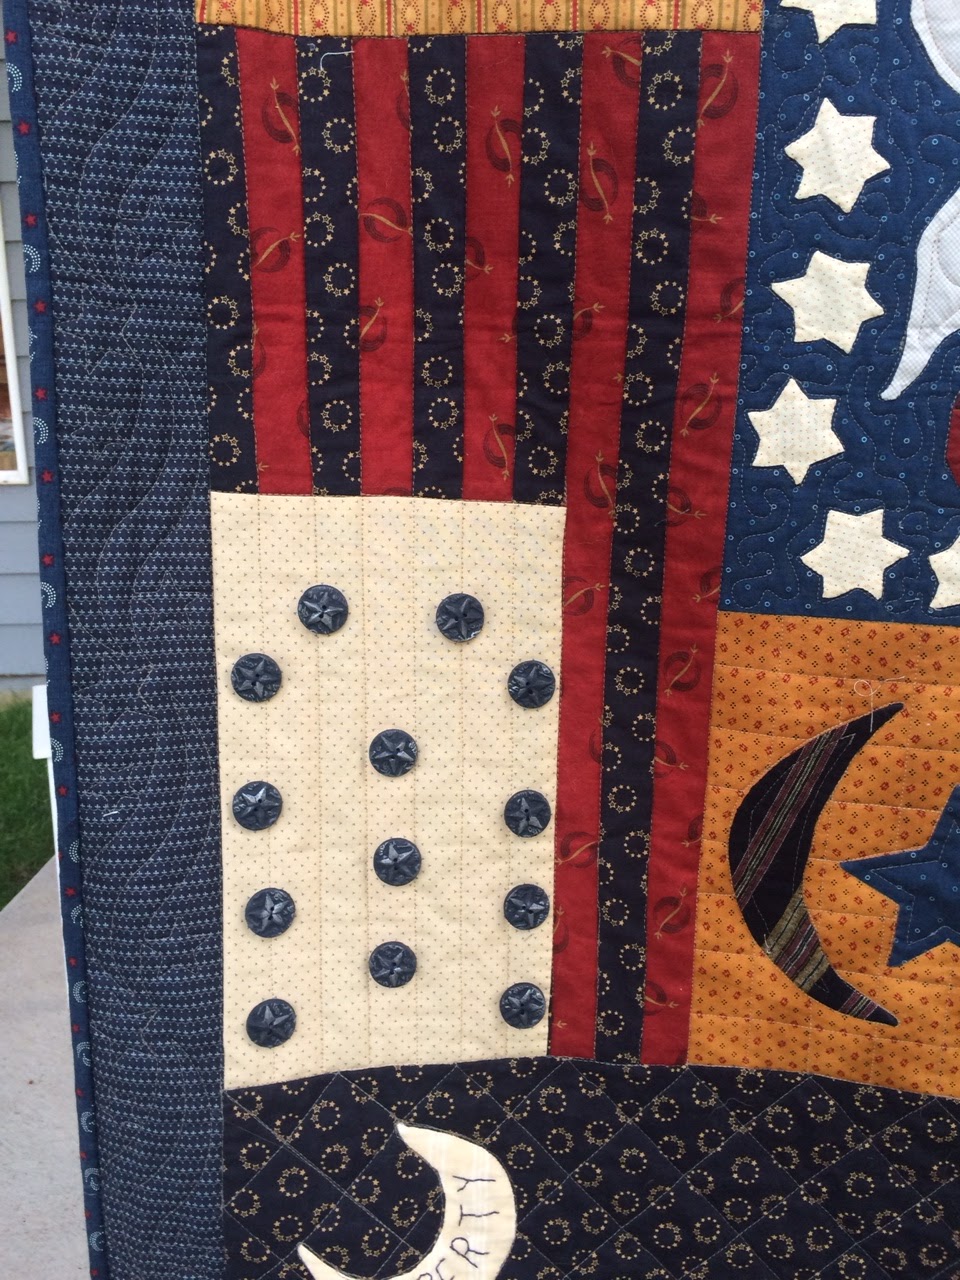
Memorial weekend in the United States is considered the kickoff to summer. It is my time to change out my spring quilts to summer and patriotic. Here's my "Flags of the American Revolution". Last year I tried to put it on my bed, but the star buttons are pretty sharp and not comfortable if you lay on top of the bed or are kicking the blankets around at night. I've opted to hang it up this summer. 

This one is on my bed now and it is called Hands Across Time. I love it and have fond memories of designing this quilt with a fun group of friends.   Read about it HERE and HERE.
Here's my label.

Here's my Instagram feed for the week. 

Have a lovely weekend!

Monday, July 6, 2015

A Patriotic Finish July 4, 2015

A Finish!


 On July 4, 2014 we landed in Boston and had a blast at a Red Sox game and touring the Freedom Trail. It was then that I decided to make the Flags of the American Revolution quilt by Jan Patek. I had admired it, but never felt too pressed to make it until that trip. One year later I put the final stitches in the binding and added the star buttons.
It was a lot easier to add the "buttons" when the quilt was in a hoop. I sewed across the points and they seem like they are pretty secure.

 I marked these with chalk- easy to get 12 in a circle, not so much 13.
 These had holes which made them easier to sew on.
 Here's my backing. My 2 side panels have upside down flying eagles...... Even when I try my quilts have a humble aspect.....
 Here's a little panel of presidents. 
 And a closer view of this amazing fabric.

Thanks to all those who sewed along! It sure made it more fun and kept me moving forward.

Happy Monday!

Wednesday, July 1, 2015

Flags of American Revolution

I received my quilt back from Jo of Moonbear Design and Quilting! Just in time to be working on it over the Independence Day weekend.


 I love what she did in the border.
 The echo quilting looks fantastic.


The binding is made and I hope to get it applied today and star buttons attached soon!
Thanks again Jo!

Monday, March 2, 2015

Flags of the American Revolution*Finale*Link-up

'Tis so sweet to work on quilts with cyber friends! It really keeps me on track and inspired! Here is the grand finale (for those who made it this far) And if you haven't, keep plugging forward and then be sure to show me the results.
The book is by Jan Patek, Quilts of the American Revolution

 My signature block, in the lower right, is a little different from the book. I'm smitten with this quilt and it reminds me of our lovely trip to Boston over 4th of July last year.


 Cathy S. top (She was an over achiever and sent me this photo last month!) Nice work!

Terry's top. Love her border choice and In God we Trust


Elaine's is not complete, but it will be soon! Looks great!


Link up your Flags quilt now. Even if it is still in blocks.


Friday, February 27, 2015

Show and Tell and Revolutionary Flags Border


 First up,  Show and Tell.

My friend Laurie made this wonderful Railroad crossing quilt. You can find info about it HERE.
I told her my one regret was not making mine larger, so she did! I know she took that photo in her backyard. Isn't that an adorable setting for this quilt?
This quilt started a fun friendship!


 Here's mine.
Dale Renee sent me a photo of her lovely MidWinter Blues from my quiltalong. 
What's not to love?!
Thank you ladies for sending me photos.  I really do enjoy seeing your quilts.
Here's the fabric I chose for the border of Flags of the American Revolution.  Looked better in my sewing room than it does on this screen. LOL

I thought I'd show you how I add my borders. It's not the only way and I'm not claiming it is the right way, but it is the way I do it. The book says to cut two  70 1/2 x 3 1/2 for the sides of the quilt. I always measure first. My quilt may be different.

 Woo-Hoo! 70 1/2" I was pretty excited about that measurement. 
 Huh? A whole inch bigger in the center? That sucks, but didn't really surprise me.
Other end.. 71", okay, not too bad. I take the 3 and average them. 
70.5+71.5+71.=213 divided by 3 is 71". That's how long I'll cut my border strips for the top and bottom. 


I don't have a huge studio so this is how I measure my long border strips. After cutting it 71" I mark the center of the border strip and the center of my quilt, line them up, then start pinning.
I do the same thing for the other direction once these two borders are sewn on.

You know what that means? MY BORDERS ARE ON! And that quilt top is complete! I couldn't be more thrilled!
So lets link up on Monday. If your top isn't done, that's fine, show us the blocks we haven't seen yet. This will be our final link up for Flags of the American Revolution quilt.

Have an awesome weekend!

Wednesday, February 18, 2015

Flags of the American Revolution Quilt Construction

If you haven't started to assemble your Flags quilt, now would be a great time to start! I had a few pieces together and you can see them HERE.
Iron as you go.

Sew to the top of the eagle.
Then sew to the bottom.

Here's my signature block.
Attach blocks as shown.
Sew to the right side.
Keep sewing blocks together!
A few more.
Sew to the left side, but do not sew all the way to the crescent filler block.
Like this.
Then sew these blocks together.
Oops! I had to unsew this one. Sorry if I steered you wrong.
Sew this strip to the top.

 Make this strip.
Add it to the left side/
Add your Liberty crescent to the bottom of these two strips.
Now you can finish that partial seam.

Ta-da! Look how it is coming together!
Sew these blocks together.
And add that strip to the bottom.  Admire your hard work!

The book calls for a simple dark border. I haven't sewn mine on yet, but lets show everything you haven't shown- blocks or a top on  February 27th. 
I'm looking forward to seeing great blocks and tops!
This has been great and such a good way to get a quilt top done and have so much fun!