

Here is a sneak peak into the quilt name! The above photo was lifted from the internet.


Subtle and low volume. :)
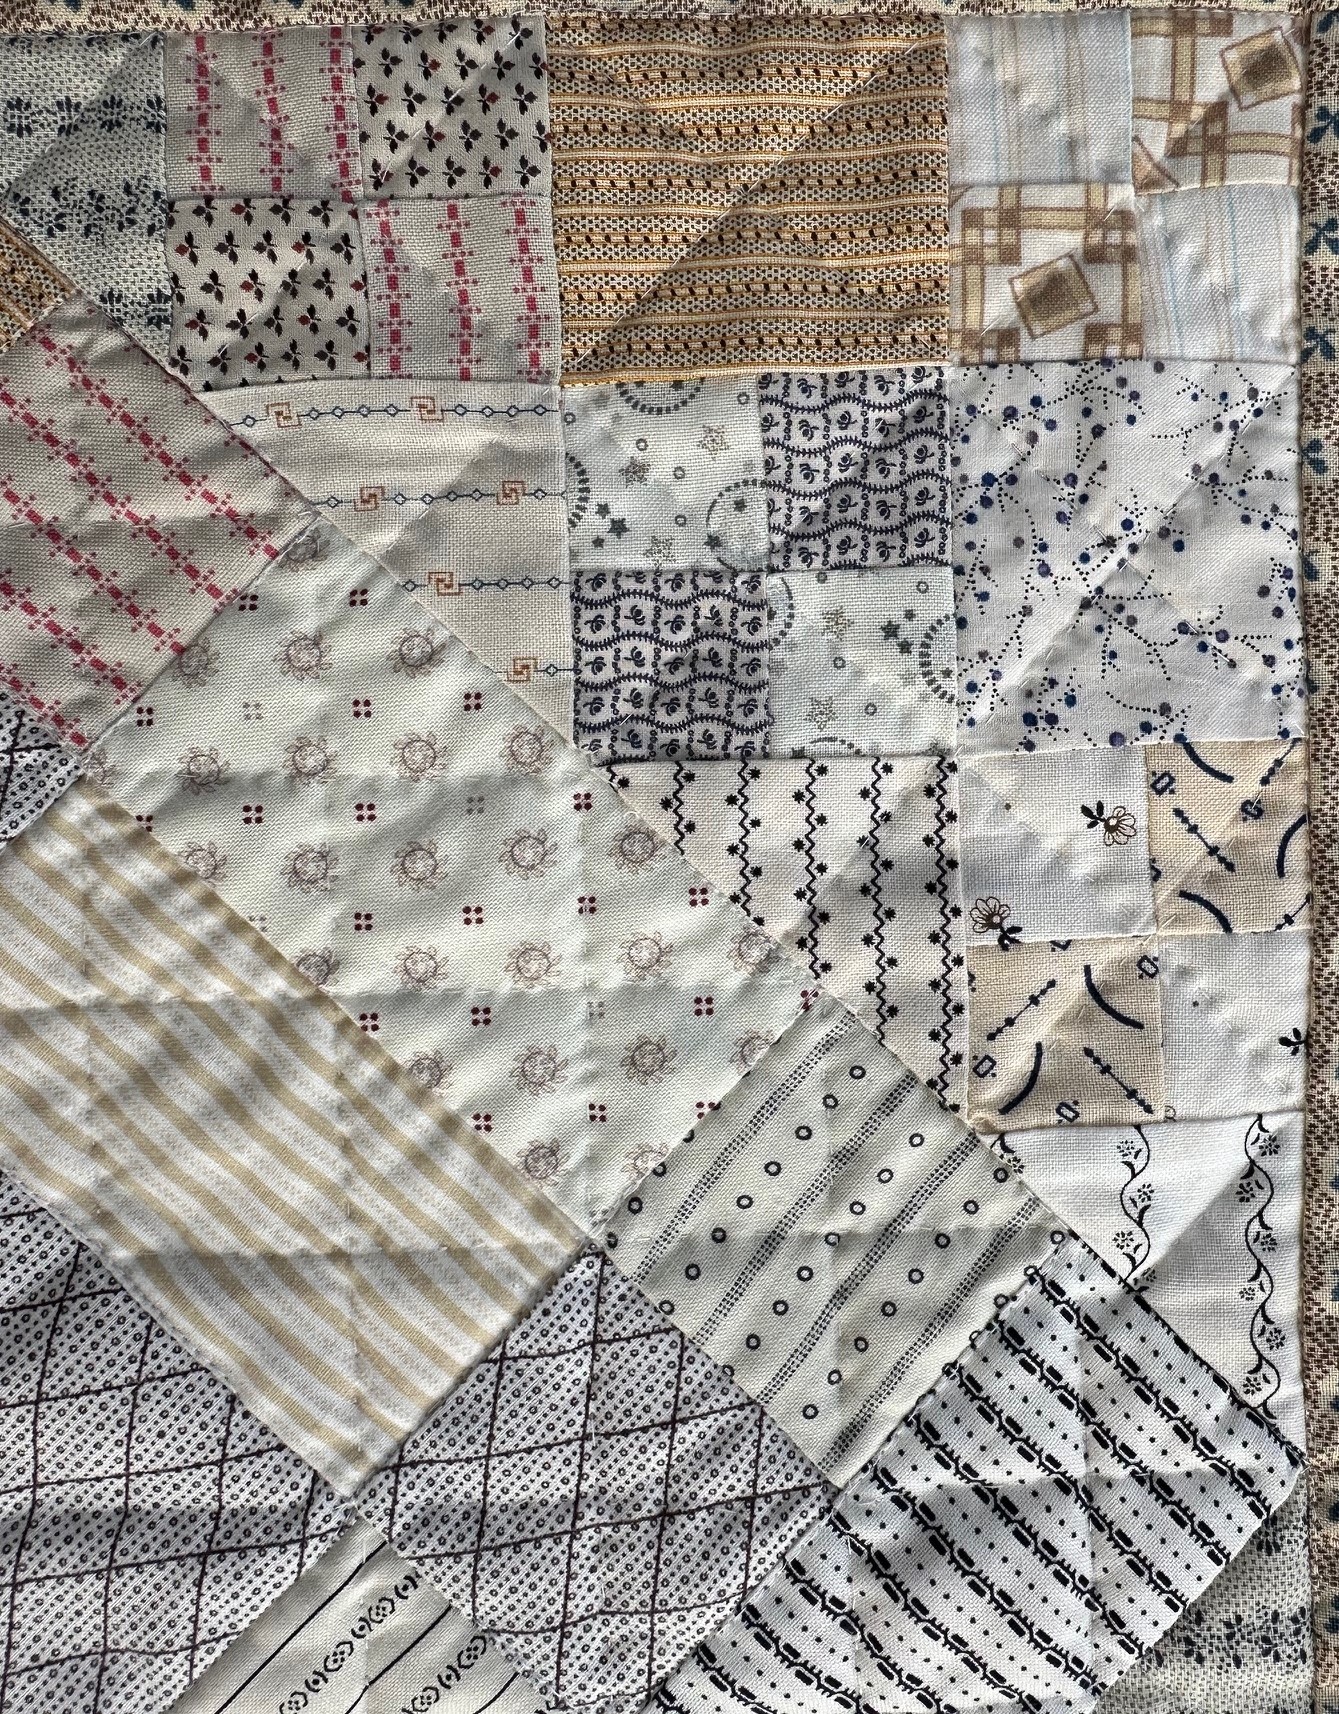
Here are the same photos from the 4 patches.

Now we are cutting squares and half square triangles.

Little bits of red and blue give the quilt a little interest.

If you have a bin with 2 1/2" squares you can likely rummage in there and find what you need.
You'll need eight 2 1/2" squares
For the half square triangles you'll need eight 2 7/8" squares. You'll cut those on the diagonal for a total of 16 triangles.

Once you have them cut you can lay out each corner
C) triangle- 4patch- B) 2.5" square-4 patch
Triangle-4patch-square
triangle-4patch- add the lower triangle to this piece, pressing after adding the first triangle.
Then sew together in rows, lining up your seams and pressing as you go.
They may feel a little small, but take your time and sew carefully a scant 1/4"- you can do it!
Do that 4 times and you will have 4 pieced triangle sections to add to your center! YAY!


Line up the center of your middle pieced square with the 4 patch and pin from the center out. (above, red X)
Carefully add to the side of your center. Go directly across the pieced center and add the other pieced triangle to the center. Press before adding the remaining 2 sides.
Enjoy your work!
If you want to share on Instagram here's a hashtag to add.
#humblequilts_parsonsfield
Thanks Lizzy.
Have an amazing weekend my dear friends!
Is there a part 4 or more? Border, backing binding, quilting? Can you show the antique quilt again, please? PS my machine chews up and spits out ''scant'' 1/4 SAs. Yum.
ReplyDeletehttps://humblequilts.blogspot.com/2023/10/parsonsfield-humble-quilts-quiltalong.html
DeleteI have no bins for squares, but I have bins (plastic shoe boxes) that I put 2 1/2" strips in so I can cut what I want from without having to go find the lengths (I hate precuts by another person, too often in the past they were not straight of grain) I purchase as yardage. Then with an easy angle ruler I can cut the triangles without waste, and strain on my eyes.
ReplyDeleteThanks Lori, I always enjoy your little sew alongs, another little delight!
ReplyDeleteThank you, Lori. I'll cut pieces tonight or on Monday. We're almost there!
ReplyDeleteIt's neat that the sign in your first photo could be interpreted as black lettering on a low volume background. Was wondering if you have a photo of the vintage1920's quilt that inspired your recreation?
ReplyDeleteI’m sewing my 4 corner sets together now. 2 down 2 more to go. I’m determined to get this one done. Most enjoyable.
ReplyDelete