
If you are not a confident quilter, please read through this post first to familiarize yourself with setting blocks on point.

Finding a stripe comparable to the antique was my biggest challenge.
.JPEG)
Here is the original print on the antique quilt. It is going diagonal AND vertical. I love it!
Of the stripe (or your choice) we need to cut 4 squares that measure 6 1/2".

We will cut the quarter square triangles next. These are the triangles that will go on the sides of the quilt. I like to cut mine a bit oversized so I have plenty of room to trim my top. Cut 2 squares that measure 10" then cut twice on the diagonal. Handle with care.
.JPEG)
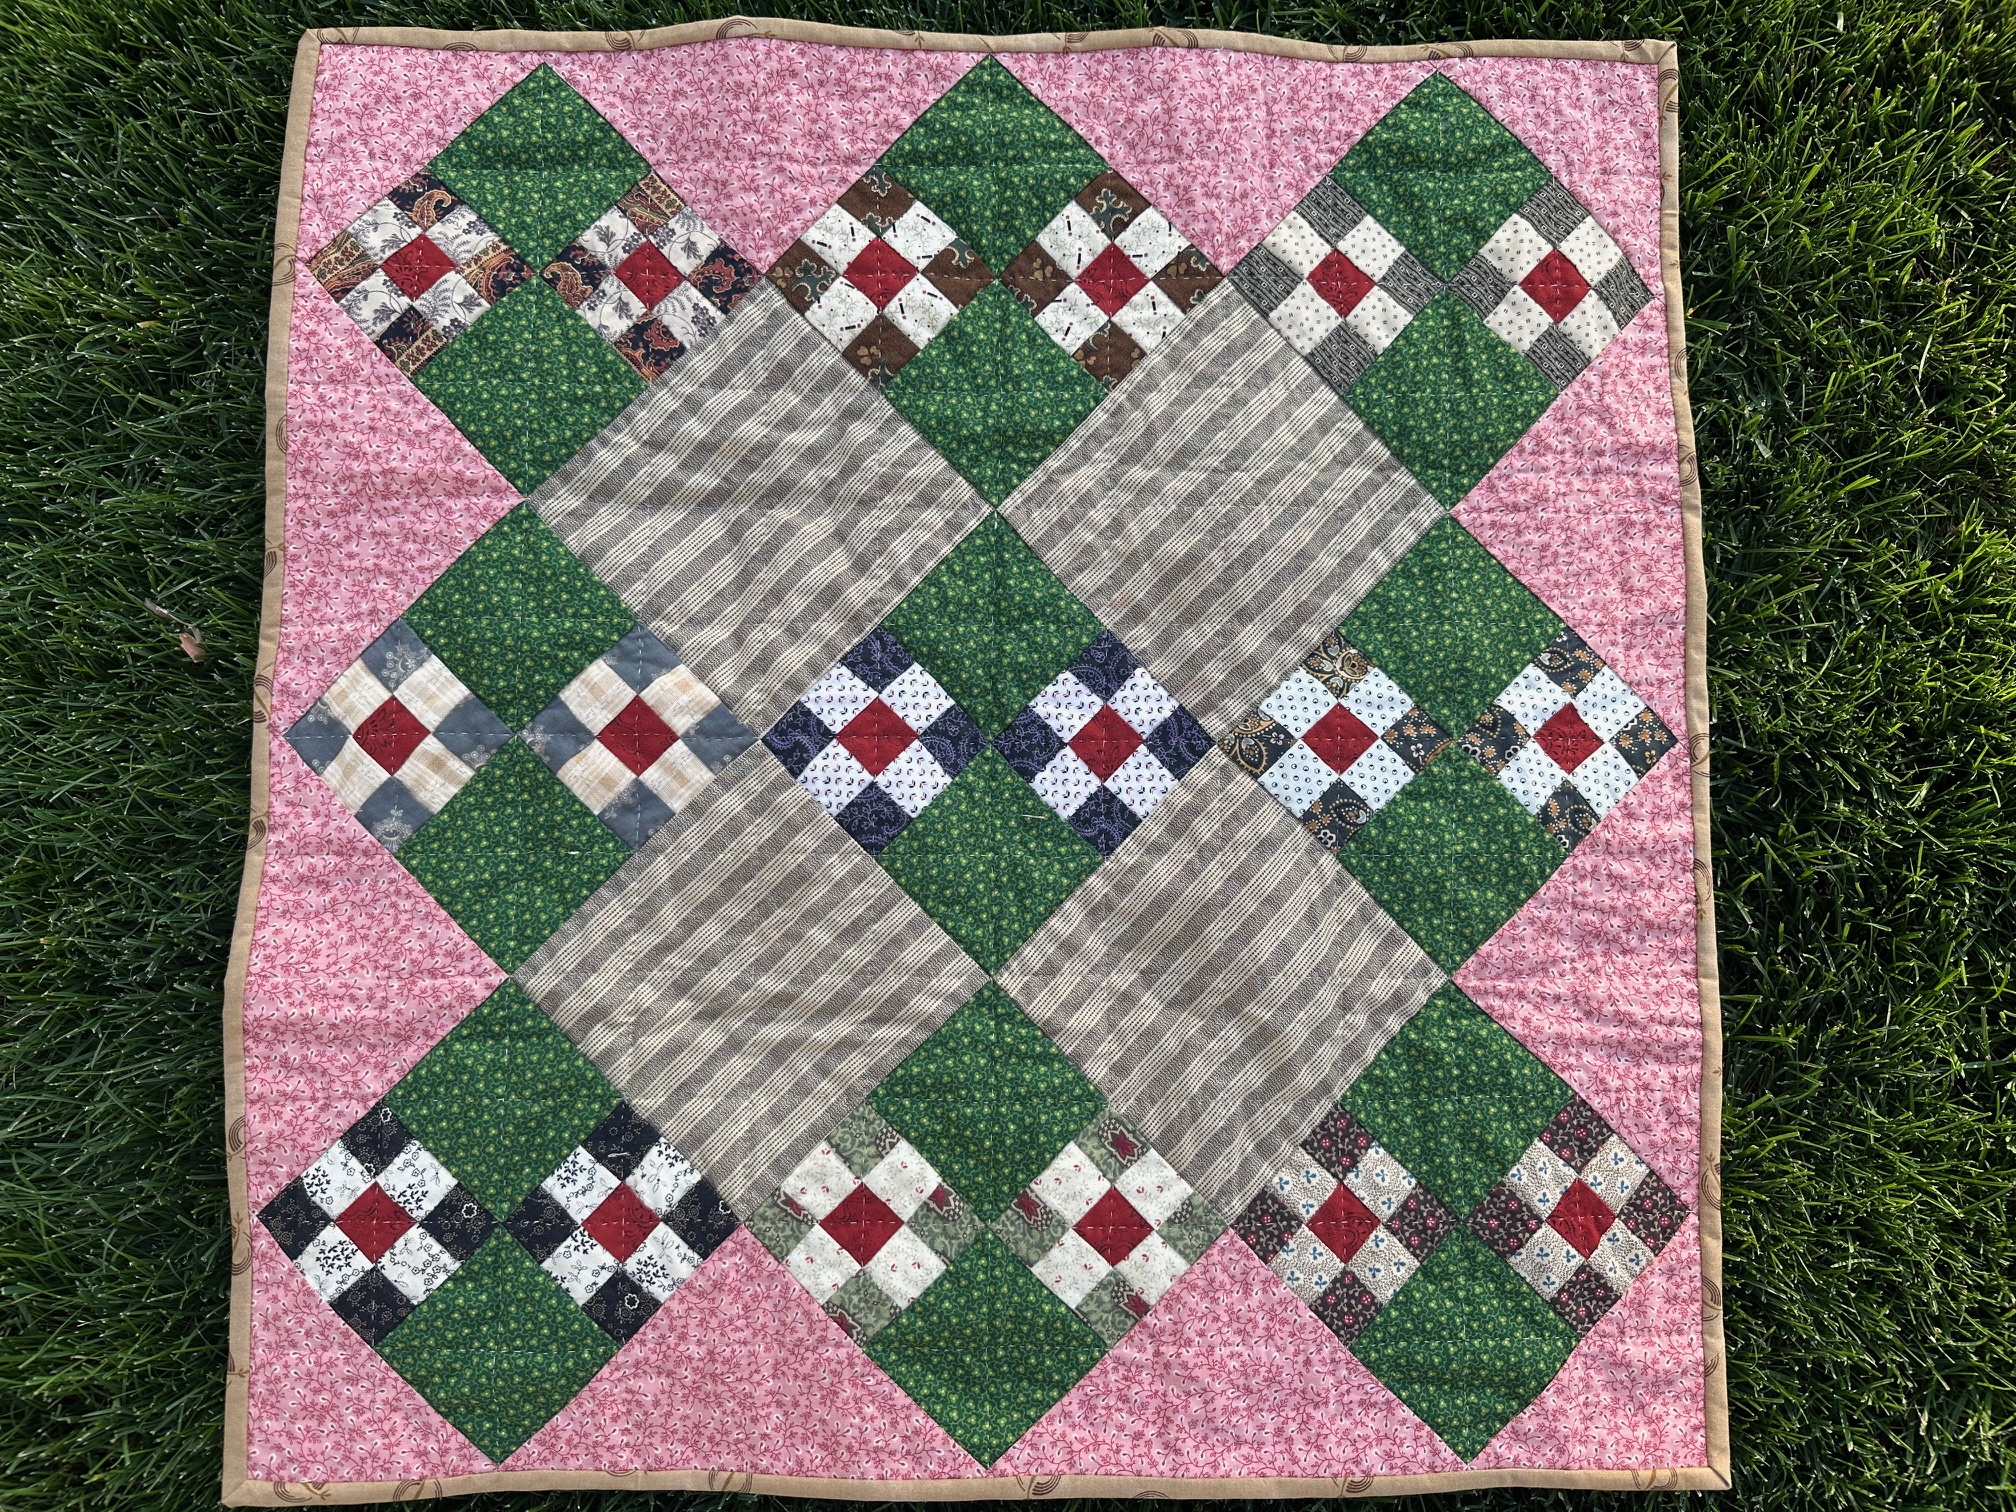
I wish I would have made my pink a bit more bold! And I wish I had a better close up of the original pink.
We will be putting the rows together on the diagonal, like shown in the diagram below.

Our quilt doesn't have this many squares but this is what I mean when I say we will put rows together on the diagonal.

The 4 corner pink triangles will be half square triangles. Cutting the sides and corners this way prevents the outside edge from being on the bias.
For the 4 corners cut 2 squares 5 1/2", then cut once on the diagonal.
Lay out all your blocks, quarter and half square triangles and assemble your rows carefully with a 1/4" seam allowance.
Refer to my quilt top above if necessary.
YAY! Admire your little quilt!
I'll be back to talk about backing, binding and quilting.
What a sweet little quilt! The old-fashioned look warms the heart. Thank you for the tutorial.
ReplyDelete